Theres No Place Like Home - January 2023

Sunday, June 25, 2023

Hello friends! 

This is the project I shared a few days ago on the June Oz Collection. 

“Every crafter knows there are just some stamp sets that you have a connection with, that completely vibe with your creativity at the time…

I had the same kind of connection to the entire June collection!


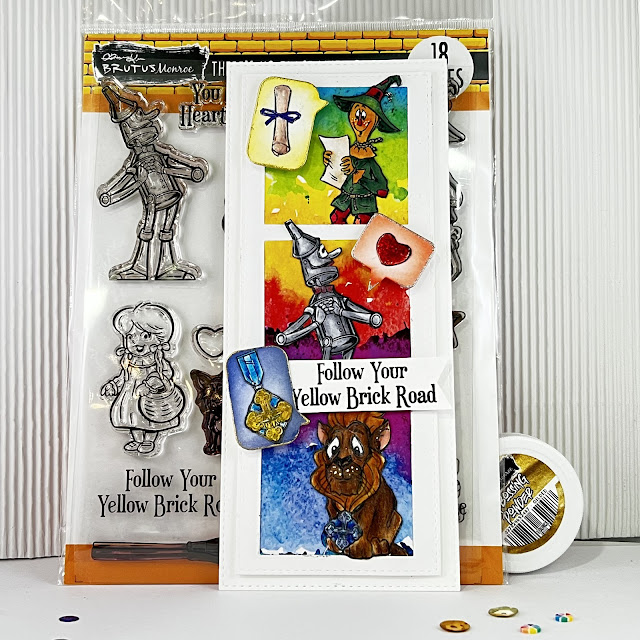
To create this card I used the “There’s No Place Like Home” Stamp Set to stamp & color Dorothy’s companions with their specific requests for the Wizard. Using a square die, I crafted a storyline strip in a slimline cardstock base,
backing it with paper from the “Over The Rainbow” paper pad.


Using dimensional adhesive, I added each of the characters over on the storyline squares. I added a thought bubble and an image of their coordinating wishes inside.  A sentiment from the "Over the Rainbow Conversation Clippings" finished off this card packed full of color and pattern!


Thanks for stopping by the blog today! I hope this finds you ready to share your weekend with friends, fam, stamping &  crafting or however you most need!
Hopefully, this inspired you to create something too!

** The Oz Collection is selling faster than a winged monkey can fly West!!
But, GOOD NEWS, this 6x8 stamp set I used "There's No Place Like Home" is STILL in stock.
The STAMP & DIE SET set is still in stock as well, but not for long!! **


➡️ Click  H E R E   to BUY ⬅️


For the Love of Gnomes & Tea! - Brutus Monroe February 2023

Thursday, March 2, 2023

Hello Friends!  Thanks for stopping by the Blog today.
I have been super busy creating and haven’t taken a minute to post yet.

Now that we are into March, how did that happen, I'm going to share the
February collection from Brutus Monroe is full of a combination of gnomes, mushrooms, teapots, cups, and coordinating accouterments!


I love this card because I like the idea of this little gnome holding a string of hearts...like the kind you would make in elementary school where you cut an arch into a folded piece of paper and when you opened it up, it was a heart.


I used Aqua Pigments to watercolor him and covered the little heart in Pink Candy Coat.  And a pun for a sentiment, my favorite!


The next card is using the February Die Cut of the Month set.
More gnomes, but I added the girl gnome and have them cheering coffee cups.
Well, in my mind, it's coffee!


When I do a certain group of cards on the same day or together,
I usually have a set color palette in mind and usually have colors mixed or
on the palette so I like that these 3 cards, look like they could all be part of a set.


In this final card, I watercolored the background over heat embossing cups I stamp all over. That is one of my favorite techniques with heat embossing. I wanted it to be pretty simple with a busy background, so I used the simple teapot and added a little row of hearts around it.


After, I took one set of photos, I decided to add color to the teapot,
so in this photo it's pink! I die-cut a dimensional banner to
stamp the sentiment onto.


Thanks for stopping by!  The Brutus Monroe Spring Release, Spring Fling just happened and there are so many lovely pieces that you can use in a million ways! And the Design Team has created some amazing projects.  Go to the Brutus Monroe site, HERE, for all the inspiration!

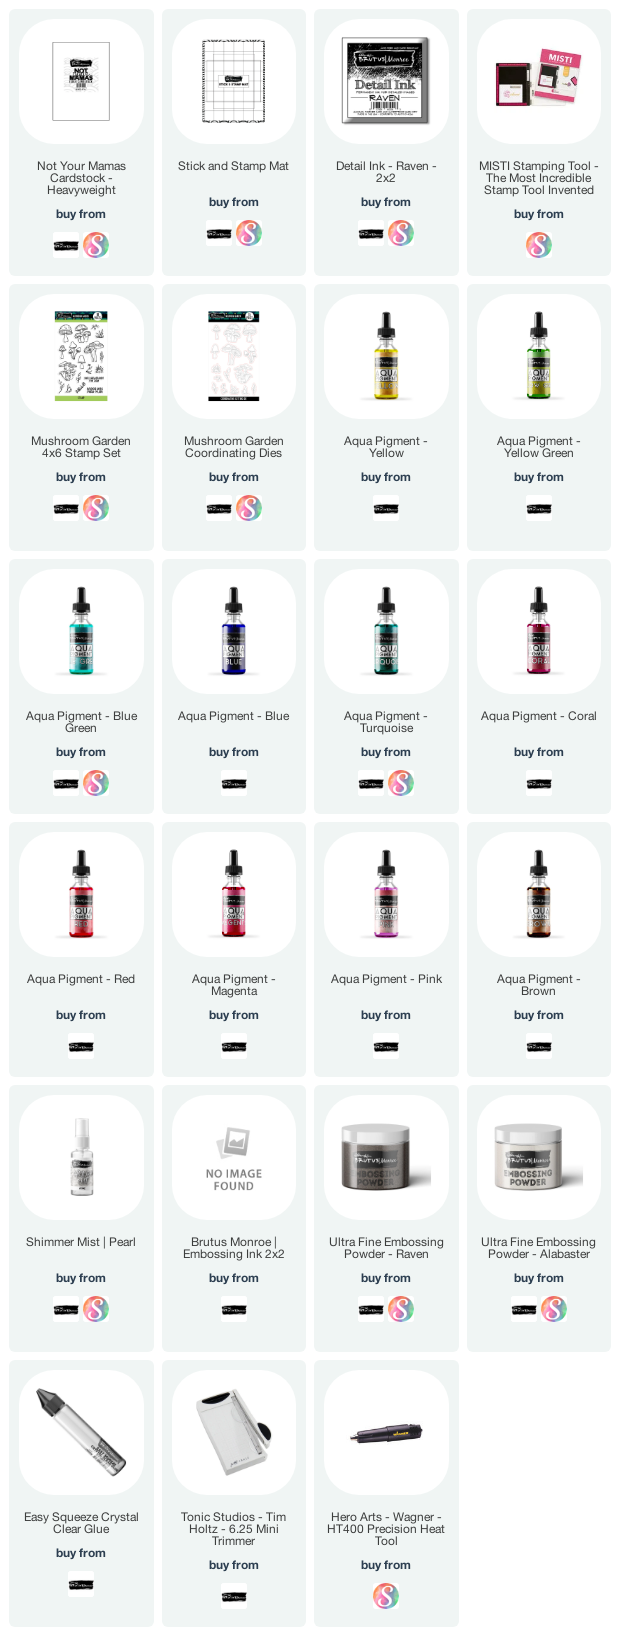
Below is the list of all the products I used and links to where you can buy them.
( Some of these are affiliate links...)


thank you very mush - Brutus Monroe - Mushroom Garden

Thursday, February 16, 2023


Hello Friends!  This is Jenni here with my first Blog Post. I am excited to share this fun card I made using the February Stamp Set 'Mushroom Garden.' There are 18 images in this 4x6 set and I'm pretty sure I used every one!  I stamped out the images from the set using the Detail Ink in 'Raven' on watercolor cardstock. The Detail Ink is perfect for watercolor, or in my card, Aqua Pigments.
I have so many colors, but the great thing about the aqua pigments is that they blend so easily because they are liquid. I chose to paint the mushrooms on the more realistic side and keep them within the same range of tone to create drama with the black background. After painting and cutting out the images, I grabbed a piece of black cardstock and misted it with the Shimmer Mist in 'Pearl.'
I used the easy squeeze glue to layer the mushrooms around the oval opening I cut into an A2 card base. Underneath the oval opening, I added dimensional foam adhesive and the black misted cardstock piece. I heat embossed the sentiment from the stamp set, thank you very mush, in Alabaster Embossing Powder. Who doesn't love a punny sentiment!? And finally, I used a white gel pen to add some stars all around the mushrooms and sentiment.
Thanks for stopping by the Blog today! Check out the stamp set and all the amazing projects the Inspiration Team created with it too!
Have a great day!

A Hello Card - Brutus Monroe February

Monday, February 13, 2023

Hello everyone!  Thanks for stopping by today and wishing you a great start to another week!

This is a card project from the February inspiration kit. This kit has an adorable stamp and die set called Mushroom Garden,"


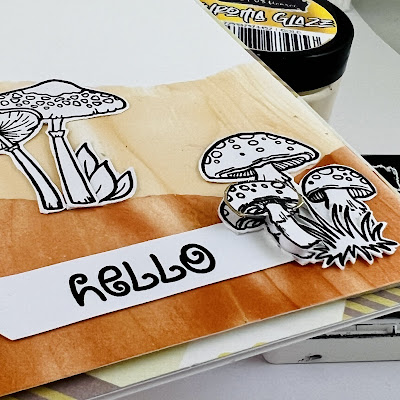
I knew I wanted to use the chroma glazes in metallic colors. I used some washi tape to mask off a jagged line down the card front t make it look like a hill. I wanted it to look like slices of sediment layers that the mushrooms were growing out of.

-.

I also thought that leaving the stamped images in black it made them stand out even more for their shapes and spots.


I used a piece of the 6x6 paper pad called tea party as a background for my card. 1 also heat embossed a sentiment from the set and added it to one of the clever sentiment strips that are perfect for everything.
One of my favorite things to do these days is to use black ink, like the brutes Monroe Raven ink, that will stay sticky and then use embossing powder in "Icicle."

Thanks again for checking out the card. Please feel free to comment and communicate with me!

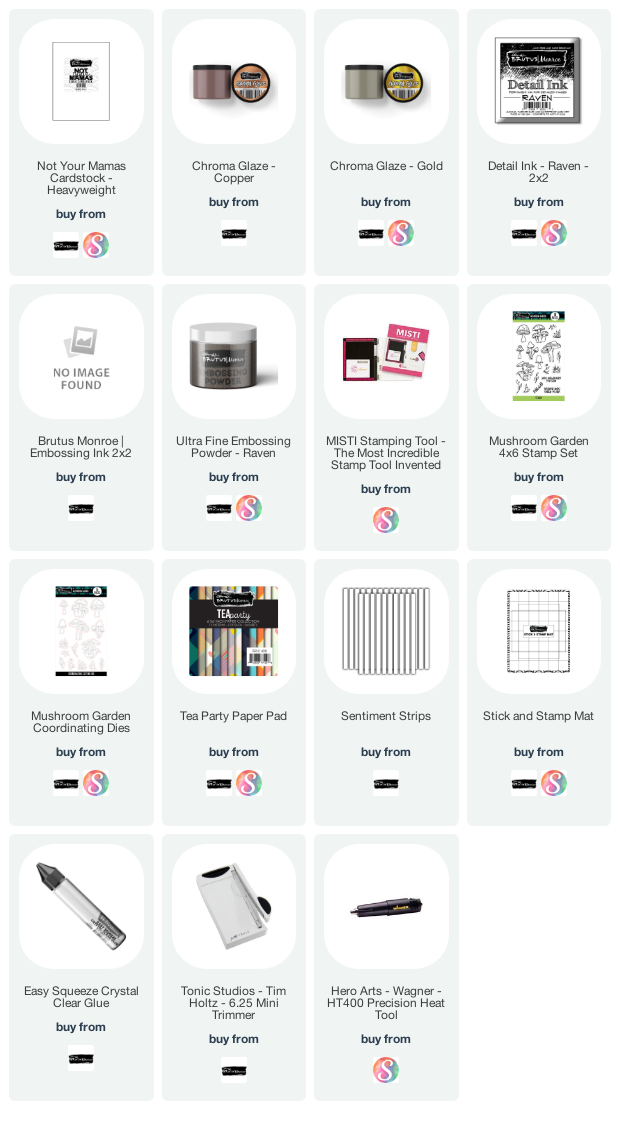
( Most items used are listed and linked below.
They are part of an affiliate and no one but myself benefits from that. )

.

'Hello' card - Creating Your Own Pattern

Tuesday, January 31, 2023

Hello friends!  Thanks for stopping by the Blog today.
I am sharing another project I created for Brutus Monroe using
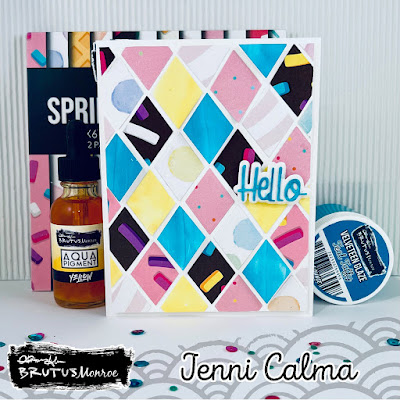
the Sprinkled with Love 6x6 Paper Pad. 


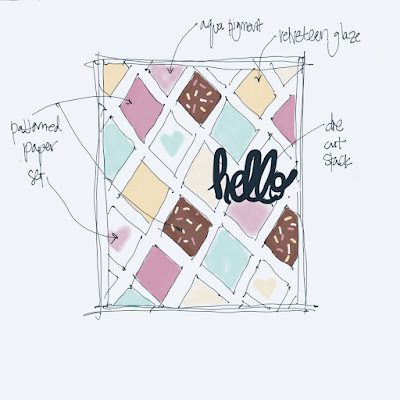
I have a sketchbook I carry around with me everywhere.
Lately, I have been trying out some drawing apps on my iPad Pro
and have gotten to like them a lot.  I miss paper too much to
use all digital, but this is a little peek at my digital "journal"
I have been using.


The card came out looking a lot like the sketch and that forethought
always makes the design execution more fun and easier for me!


I used a small diamond die to die cut out different patterns from the
paper pad as well as a couple pieces of paper I painted with
yellow Aqua Pigment and Velveteen Glaze in Teal Taffy.

I added foam adhesive dots under the teal pieces for some dimension
and interest and cut out the sentiment from the January Die of the Month!


Thanks again for stopping by and have a wonderful day!

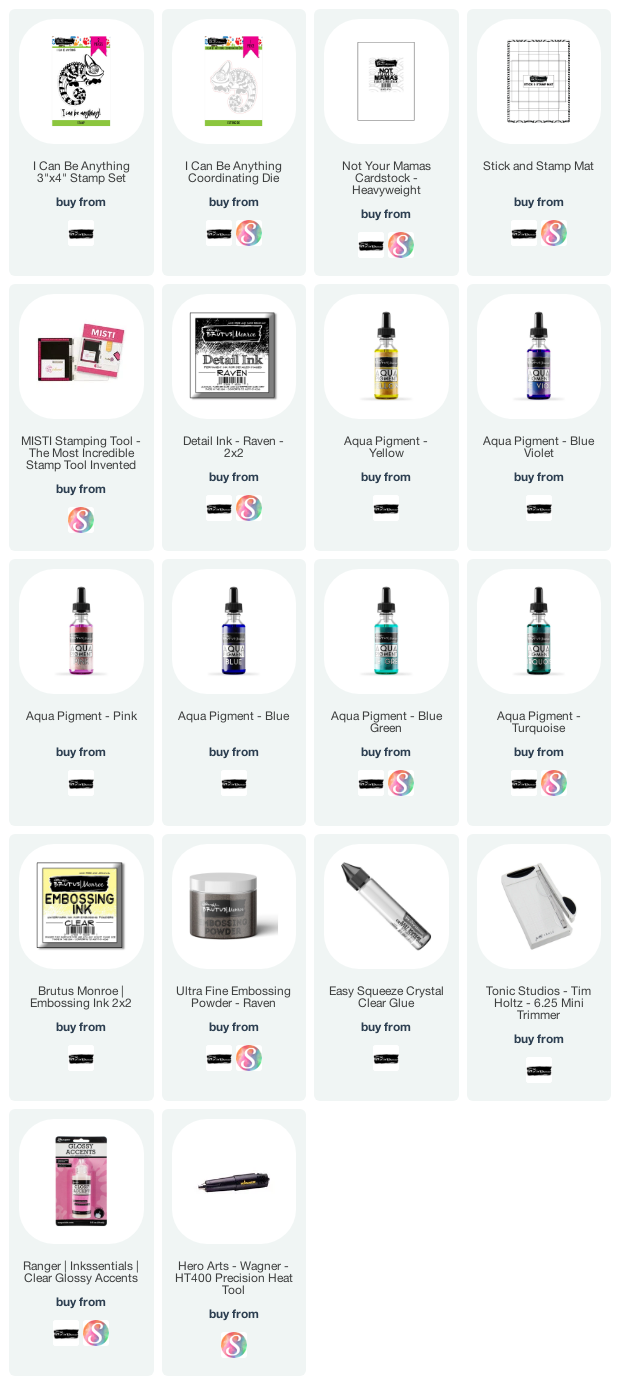
Below is a list of supplies I used and a link to where you can find most of them.
(Some affiliate links used that are at no cost to you)

Sprinkled With Love 6x6 Paper Pad
[ BMR | SBC ]
Die of the Month Club | Breakfast...
[ BMR | SBC ]
Stamp Club Membership | Sprinkles
[ BMR ]
Not Your Mamas Cardstock - Heavyweight
[ BMR ]
Detail Ink - Raven - 2x2
[ BMR | SBC ]
Velveteen Glaze - Teal Taffy
[ BMR ]
Aqua Pigment - Yellow
[ BMR ]
Aqua Pigment - Pink
[ BMR ]
Aqua Pigment - Blue
[ BMR ]
Brutus Monroe | Embossing Ink 2x2
[ BMR ]
Metallic Embossing Powder - Gilded
[ BMR | SBC ]
Candy Coat | Teal
[ BMR | SBC ]
Easy Squeeze Crystal Clear Glue
[ BMR ]
Tonic Studios - Tim Holtz - 6.25 Mini...
[ BMR ]
Crafter's Companion - Gemini Jr. -...
[ SBC ]

I can be anything! - Chameleon Card + Process VIDEO

Tuesday, January 24, 2023

Hello friends!
I am excited to share this fast, fun card with you today as well as the process video I created.  It is the first video I have edited in a WHILE, so be patient with me!

I adore his stamp set and could not wait to wait to use it.  While I do use mostly Brutus Monroe products, it's not a card for the Inspiration Team exclusively


I created two versions of the same card; one colored "inside the lines," and the other more simple dollops of color blended together.

Click HERE or below to watch my process video!


This is a simple 3x4 stamp and a single sentiment that is part of the set.  There is also the coordinating die, although I didn't use it, choosing to stamp directly onto Tim Holtz Watercolor Cardstock instead.

I stamped the image twice using Brutus Monroe detail ink in Raven and then painted two different styles on each card. I added a sentiment I heat embossed and then mounted the painted cards to a card base.

I added an extra layer of textured turquoise paper on the card base to add a color frame and pop from the white.  Simple, quick, and love that message!


And that's it! So many possibilities!
Thanks for stopping by the Blog today.

Below is a list of supplies I used and a link to where you can find most of them.
(Some affiliate links used that are at no cost to you)

SWEET! Brutus Monroe DT - Slimline Shaker Card

Friday, January 20, 2023

Happy Friday friends!
The sun is shining, the sky is blue and it makes me long for Spring!
But, before that can happen, we need to celebrate Valentine's Day AND another shaker card!


This is a slimline card for the Brutus Monroe Inspiration Team
Using the 'Sprinkled With Love' Stamp set.  The stamp set mostly features donuts and sweet treats,
but I wanted to use the hearts to make something a little unexpected.


Using the Chroma Glitter Glaze in Navy, I coated the cardstock behind my shaker openings.
While it was drying, I die cut 4 scalloped circles in the card front and added some foam tape to create space for the shaker areas.


The most difficult part was heat embossing these hearts using Alabaster Embossing Powder onto acetate. I used heat-resistant acetate, but it can still warp if you heat it too directly. Despite using a powder tool, My craft room is full of static and a tornado of dust, glitter, and everything that will stick to acetate. It took a couple tries, but I think the results are totally worth the effort!


Then the fun part, of adding the sequins and putting it all together!

Thanks for stopping by today and hope you have a sweet, sunny weekend!!

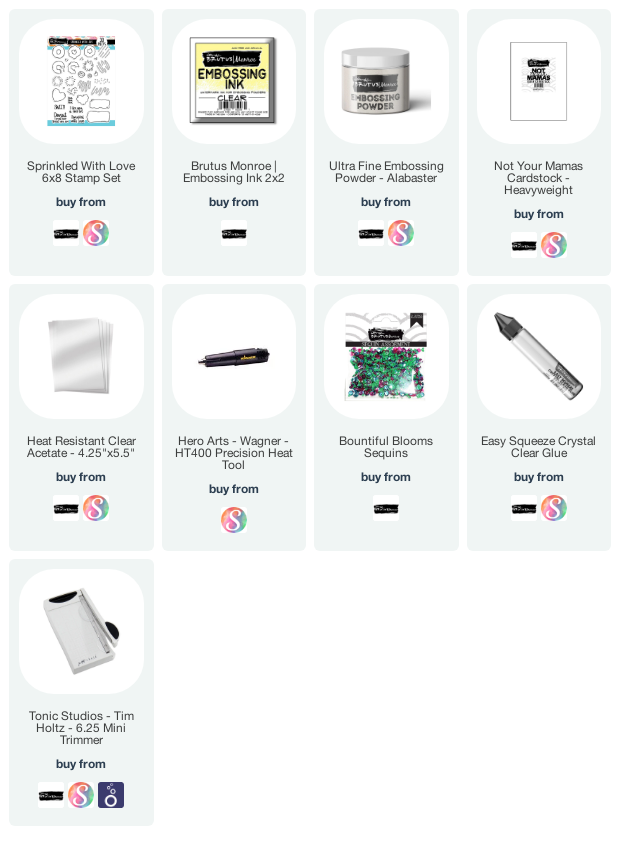
Below is a list of supplies I used and a link to where you can find most of them.
(Some affiliate links used that are at no cost to you)

Proudly designed by Mlekoshi playground